
Harry Potter Themed Unicorn Cake
Recipe Ingredients
How to Prepare:
You will need the following components: cocktail sticks, kebab skewer, small piping bags, palette knife, larger open star nozzle and a straight nozzle.
To begin this Victoria Sponge Cake recipe reheat the oven to 180°C/ 160°C Fan oven/Gas Mark 4. Grease and line 3 x 7” round cake tins.
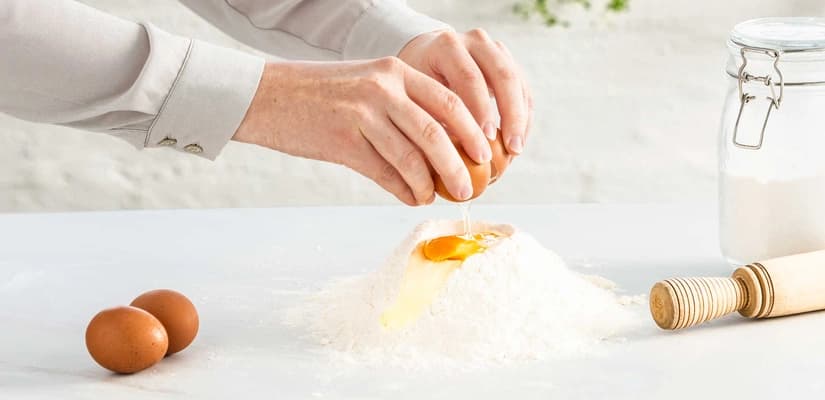
Cream together the margarine and sugar until light and fluffy.
Gradually beat in the eggs and vanilla. If the mixture starts to curdle, add a spoonful of flour.
Finally sieve the remaining flour and Baking Powder onto of the mixture and fold in until just combined.
Divide the mixture equally between the prepared tins and smooth the top of the mixture. Bake for 25–30 minutes until golden brown and a skewer inserted into the centre of the cake comes out clean. Leave to cool in the tins for 15 minutes and then remove and place on a wire rack to cool completely.
Trim the domed top of each layer away to give you flat layers.
Pop in the softened butter to your stand mixer bowl, beat for around 5-10 minutes, until very pale and fluffy.
Add in the icing sugar and vanilla and beat again on a low speed.
Scrape down the bottom and sides of the bowl using a spatula.
Increase to a medium speed and mix for another three minutes.
Start by piping a small amount of buttercream onto your cake board, then place the first sponge layer on top. (This helps secure the cake and prevents it from shifting).
Next, pipe a border of buttercream around the edge of the sponge. If you're using a filling, spread it evenly in the centre, ensuring it doesn’t rise above the buttercream border. (This will help prevent the filling from spilling when you add the second layer of cake. If you're not using a filling, just continue with the buttercream.)
Place the next sponge layer on top and repeat the process. For a two-layer cake, skip the filling and continue with buttercream. For a three-layer cake, repeat the steps and add the top layer of sponge.
Now, pipe buttercream around the entire cake and use a palette knife to spread it evenly, covering the entire cake.
Smooth the buttercream with a cake scraper, working from the outside in to achieve a uniform finish.
Remove any excess buttercream with your palette knife.
Chill the cake in the fridge or freezer for 30 minutes to an hour, allowing the crumb coat to set and harden.
To make the unicorn horn, begin by rolling out a long sausage shape with your fondant. Slice it in half lengthwise, then twist the two halves together slightly as you roll them to create a beautiful spiraled effect.
Once you're happy with the spiral, gently taper one end to a point to form the horn shape. Leave it to set and firm up.
Once set, spray the horn with gold dust for a magical shimmer. Finally, gently brush some of the gold into the spirals of the horn to give it that stunning, sparkly finish.
To make unicorn ears, start by rolling out approximately 100g of white fondant to about 5mm thickness. Use a knife to cut out two ear shapes.
Next, roll out another piece of white fondant, slightly thinner than the first, and cut out two smaller shapes for the inner ears. Attach these smaller pieces to the larger ears with a touch of water.
Pinch the bottoms of the ear shapes together to give them a realistic curve. Insert a couple of cocktail sticks into the bottom of each ear for stability, and leave them to set for several hours or overnight.
Once the ears are firm, spray them with gold spray to add a magical shimmer. For an extra touch, gently brush the gold onto the inner ear areas to highlight them.
To create the unicorn's eyes, start by colouring 25g of fondant with black food colouring. Roll it out on a lightly dusted surface until it's smooth. Use a circle cutter to cut a small circle, and then use a smaller cutter to cut a circle out from the middle. Once you have the outer ring, cut it in half to shape the top and bottom parts into the unicorn's eyelashes
Once the crumb coat has set cover the cake in a final coating of the buttercream, smoothing with a palette knife or cake smoother. You guessed it, back into the fridge for a final 30 minutes to set before adding the final decorations.
Take the leftover buttercream and divide it in half, placing each portion into two separate bowls. In one bowl, add 2 teaspoons of red food colouring, and in the other, add 2 teaspoons of yellow food colouring. To create deeper shades, you can add an extra 1/2 teaspoon of each colour to intensify the red and yellow, giving you the perfect Harry Potter house colours. Pop them in a separate piping bags fitted with a star nozzle.
Take the cake out of the fridge for the last time, because we’re ready for the final decorations!
Stick the horn on top of the cake and place the ears either side. And then the eyes on the side of the cake!
Pipe on the mane detail with buttercream. Pipe swirls round the cake in little circles starting from the middle. Pipe in a circular motion to create the rosettes covering over the top, sides and down the back of the cake, you can also pipe blobs of icing to create the smaller piping effects.
And there you have it! A truly magical Harry Potter Unicorn Cake, combining the charm of both the wizarding world and the enchantment of unicorns. It's a perfect, whimsical treat that’s sure to delight all ages!
RELATED RECIPES
More delicious ideas for you
Whole Cake Recipes
Gluten Free Lemon Drizzle
Whole Cake Recipes
Jam Roly Poly
Whole Cake Recipes