
Rubik's Cube Cake
Recipe Ingredients
How to Prepare:
First things first, preheat your oven to 180°C/ 160°C Fan/Gas Mark 4. Grease and line a 30x20cm rectangular baking tin.
Pop the flour, Baking Powder, Bicarbonate of Soda, Cocoa Powder and Sugar in a large bowl and mix together. Make a well in the centre.
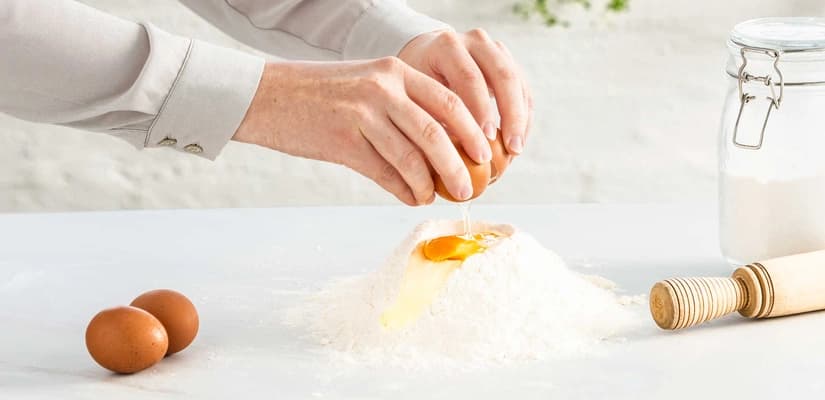
Next up, in a separate bowl mix together the eggs, milk, oil and Vanilla Extract. Pour the wet mixture into the well in the centre of the dry ingredients and gently begin the fold together. Mix together until all combined and your mixture is smooth.
Pour your mixture into your prepared tin and smooth the top. Bake for 30-35 minutes until risen, to test your cake is baked insert a skewer into the centre of the cake and if it comes out clean, your cake is baked! Leave your cake to cool in the tin for 10 minutes, then remove and leave on a wire rack to cool completely.
To make the buttercream- Pop the butter in a bowl and beat with a hand help electric whisk, until light and fluffy. Add in the icing sugar, Cocoa and vanilla and beat until combined.
Once the cakes have cooled, cut into 3 squares about 10cm wide. The easiest way to do this is measure and cut a template out of grease proof paper and cut around the template on the cake using a serrated knife. Keep the cut off pieces of cake and use to make cake pops!
Pop the squares of cake onto a piece of card each slightly smaller than the cake, this will help you stack and move the cakes.
Spread the chocolate buttercream over the tops and sides of each cake square.
Divide your white fondant into 3 equal pieces. On a surface lightly dusted with icing sugar, knead a piece of fondant and roll out into a square big enough to cover one cake square. Once your fondant is rolled out enough, lift onto a square of cake and smooth the top and sides to secure in place and cut away any excess fondant around the base of the cake. Top tip – use a pizza cutter to easily cut away any excess fondant! Repeat this to cover the other 2 squares of cake in fondant.
Now your cakes are covered it’s time to stack them! Place one cake layer on your serving plate or board. Place another cake on top at a different angle – this creates the staggered effect. Place the final cake layer on top. If you are making the cake in advance them you can place cake dowels into the bottom and middle cake tiers to help support the weight.
Now it’s time to get colourful, take ½ or the yellow fondant and about ¼ of the red fondant and knead together until you have orange fondant, easy peasy! Take the remaining yellow fondant and roll out on a surface lightly dusted with icing sugar. Cut 8 x 3cm squares out of the fondant, you can make a stencil to cut around out of greaseproof paper if you do not have a square cutter. Place the squares onto a pieces of greaseproof paper until needed. Repeat the above with the orange fondant, then red, green, blue and black.
Once all your fondant squares are cut out it’s time to create your rubiks cube! Place the fondant squares onto your cake in lines of 3 squares. If your squares aren’t sticking, brush a small amount of water onto the back of the squares before placing on the cake.
Ta-dah you have created your very own rubiks cube, never mind solving it... tuck in and enjoy!
RELATED RECIPES
More delicious ideas for you
Whole Cake Recipes
Royal Fruit Cake
Whole Cake Recipes
Rum Cake
Whole Cake Recipes